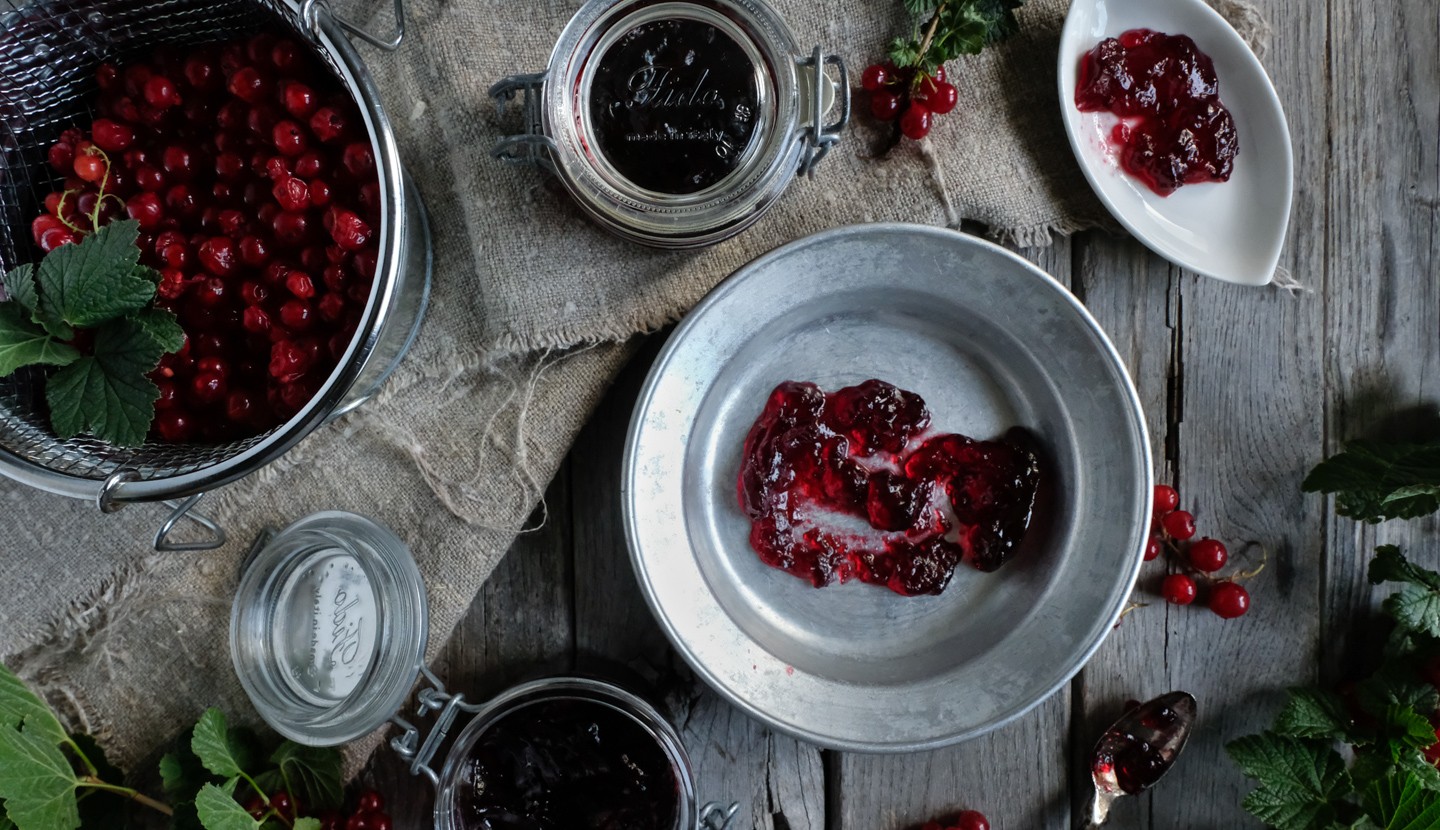
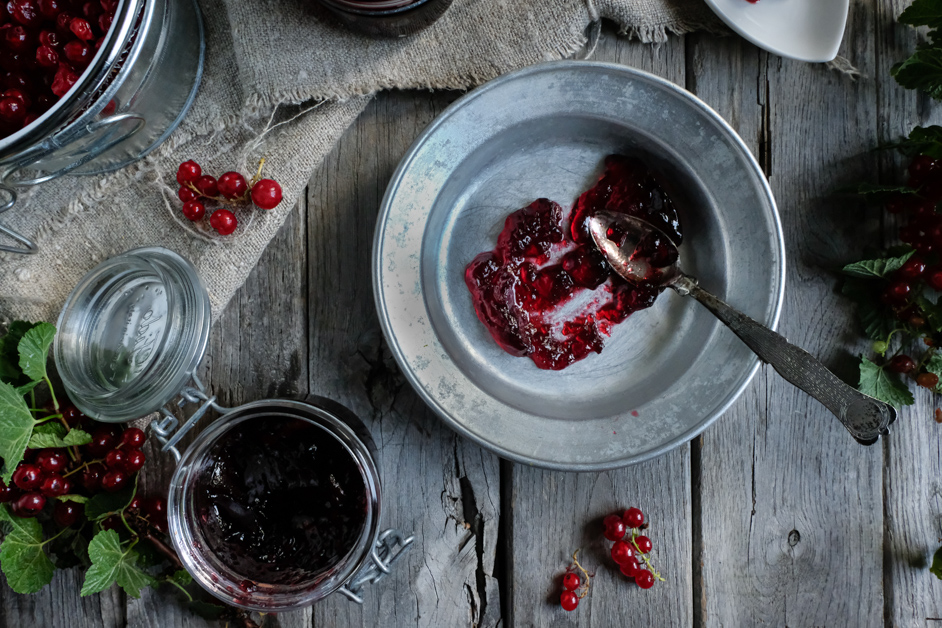
Redcurrant Jelly

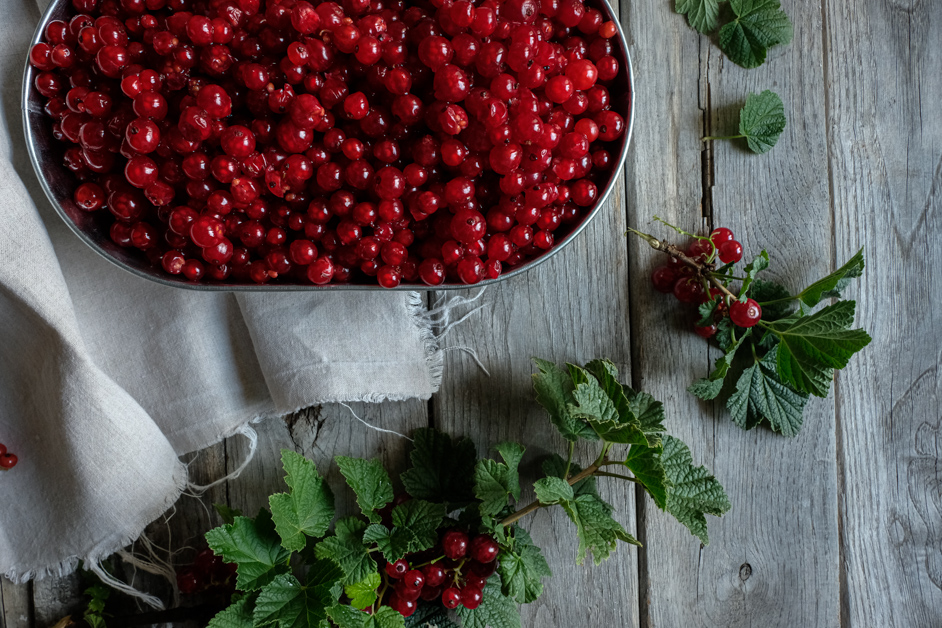
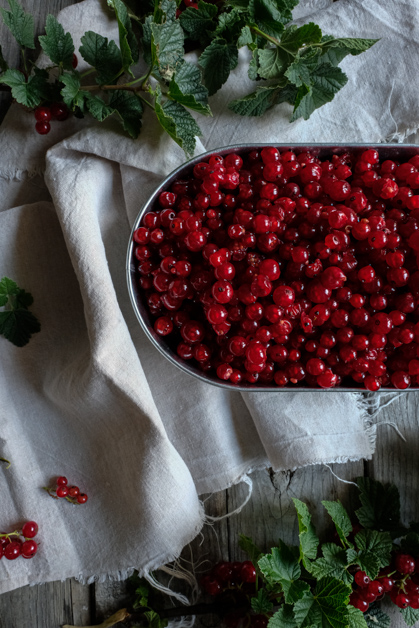
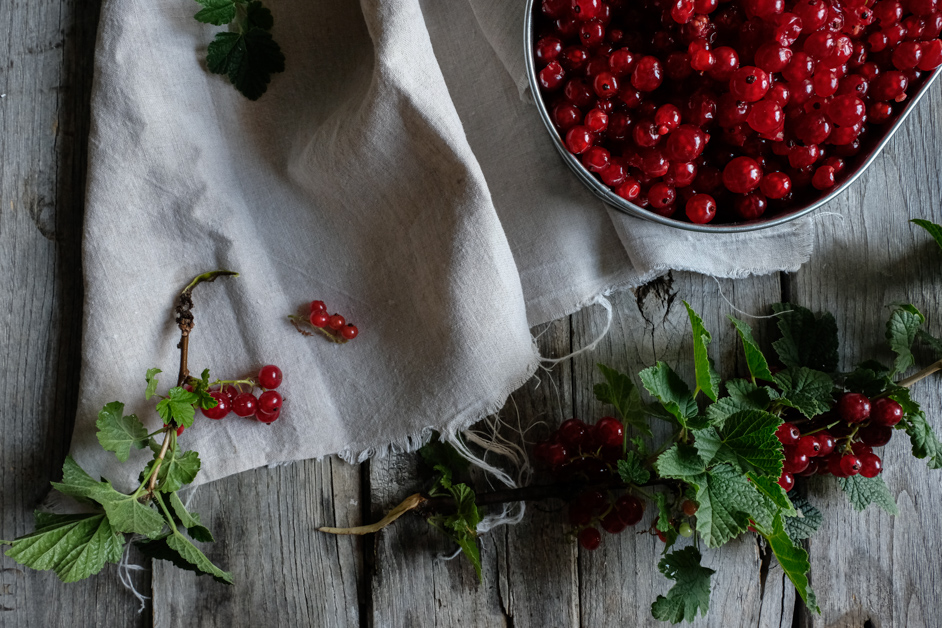
When you try to keep a precious seasonal ingredient in use throughout the year, you need to be extra resourceful and come up with new ideas. I have so many wonderful redcurrants and even though I’ve already used some of them in my cooking and have given plenty of baskets away to family and friends, there are still so many left unused. Those big redcurrant bushes have been very productive this year! I’m in love with this tiny, vivid red superfood lately and I don’t intend to let it go to waste!
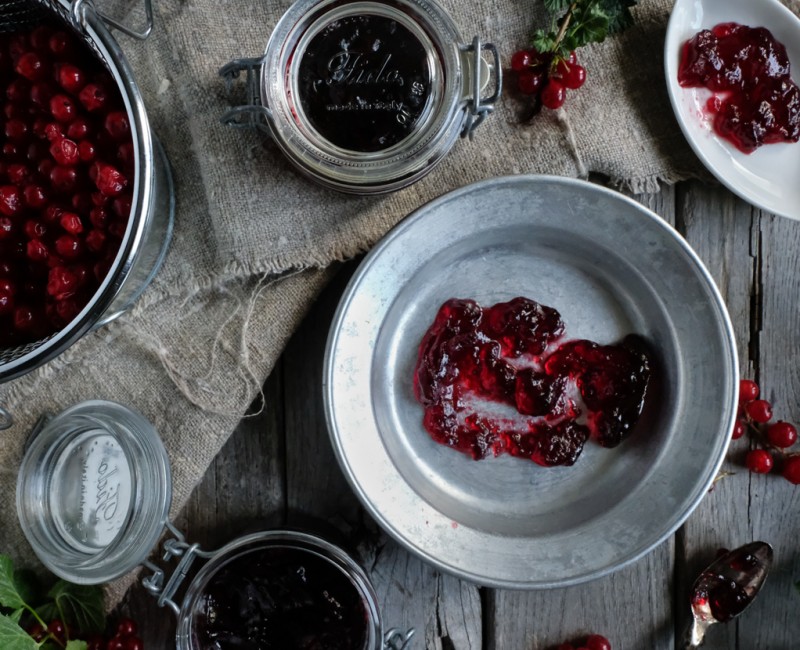
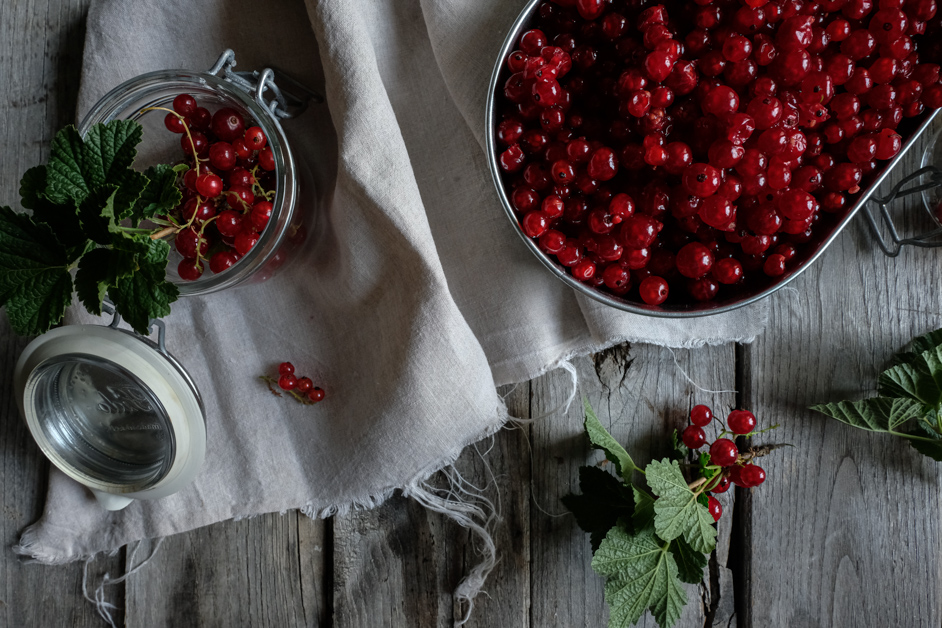
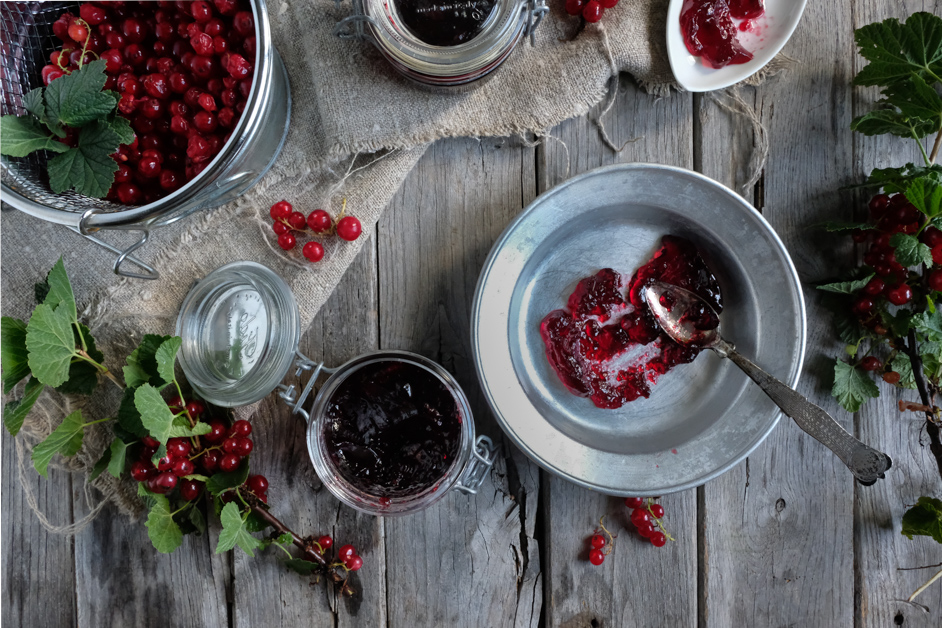
I launched the redcurrant season with a wonderful charlotte cake this year and I’m thinking of making a recipe I’ve never tried before with the remaining fruits, right before I start picking some more from our garden. I always wanted to give it a go and it seems that the time has come! I’m making redcurrant jelly that can be preserved in jars for quite a long time. This lovely, vivid red, shaky jelly will maintain a strong redcurrant scent and taste and can be used in various ways.
My all-time favourite way of using redcurrant jelly is on cheese platters during winter, or any other time actually, between different types of cheeses and dry fruits. It’s so refreshing and has such a fresh summer scent but it also enriches our platters with extra colour and flavour.
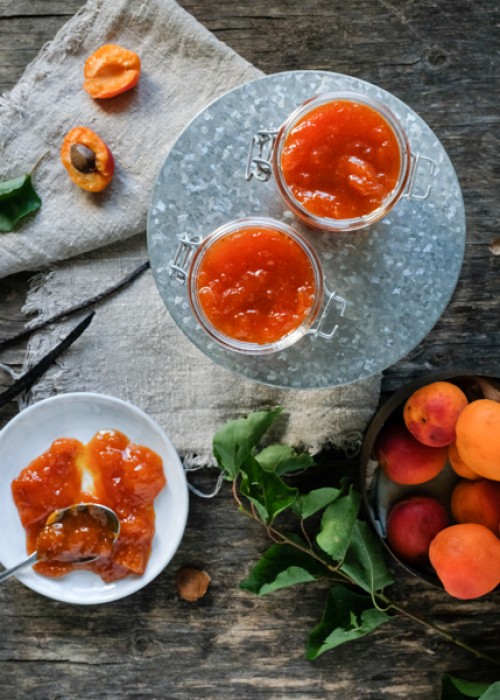
But there’s so much more you can do with redcurrant jelly besides adding it to your cheese platters. It’s perfect for desserts, ice creams, grilled meats and veggies as well as sweet and sour recipes. I’ve been buying fruit and wine jellies from delicatessens for years and they always come in handy.
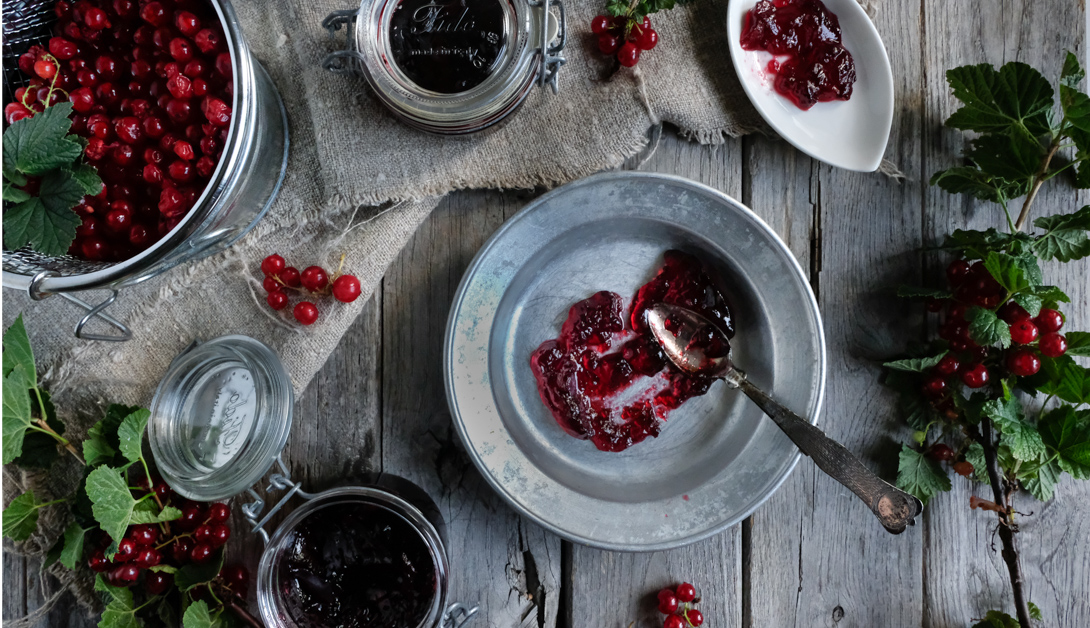
Redcurrants are the perfect choice of fruit for making jelly, in my opinion. They’re loaded with pectin so they don’t really need large quantities of sugar or any additional thickening agents. I also love how strong their sour taste remains without being covered by the taste of sugar, so the jelly adds such an intense and acidic flavour to any dish it’s used in.
Since I had never tried making anything like that before, I did some research and found out that redcurrant jelly is quite popular already. I came across numerous recipes but there was one that won me over with its simplicity and intelligibility. I found it on lovelygreens.com, a wonderful blog with many amazing recipes and gardening tips!
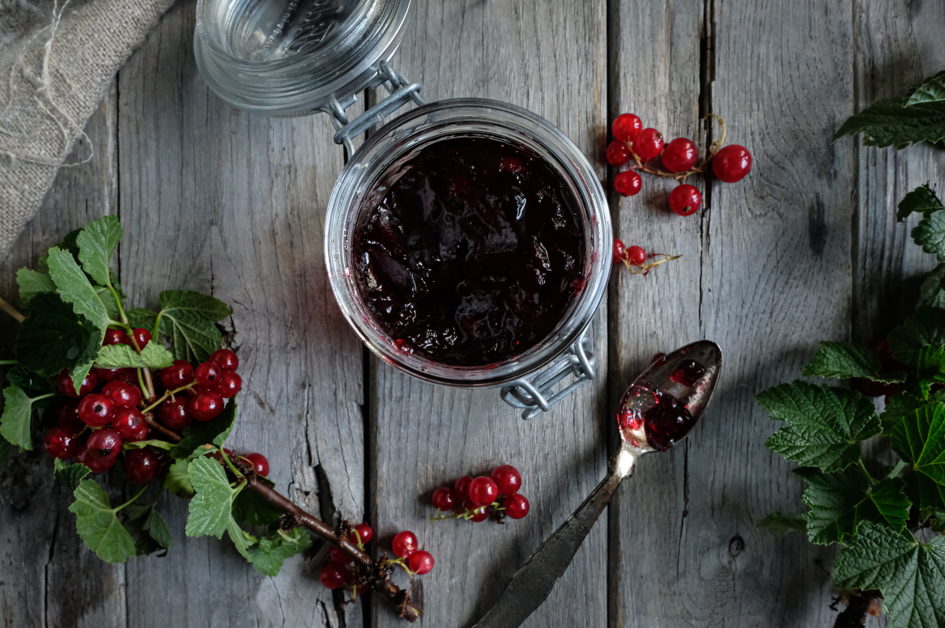
According to lovelygreens.com, if you follow the steps with precision, your jars can be preserved up to a whole year! I’m planning on making quite a few of them since the ones I’ve made so far are perfect and I still have plenty of fruits in my baskets. But there’s one more reason; I can already picture them as wonderful Christmas gifts, probably because it's the kind of gift I personally love receiving!
Ingredients
1kg Redcurrants
White sugar
500ml Water
Method
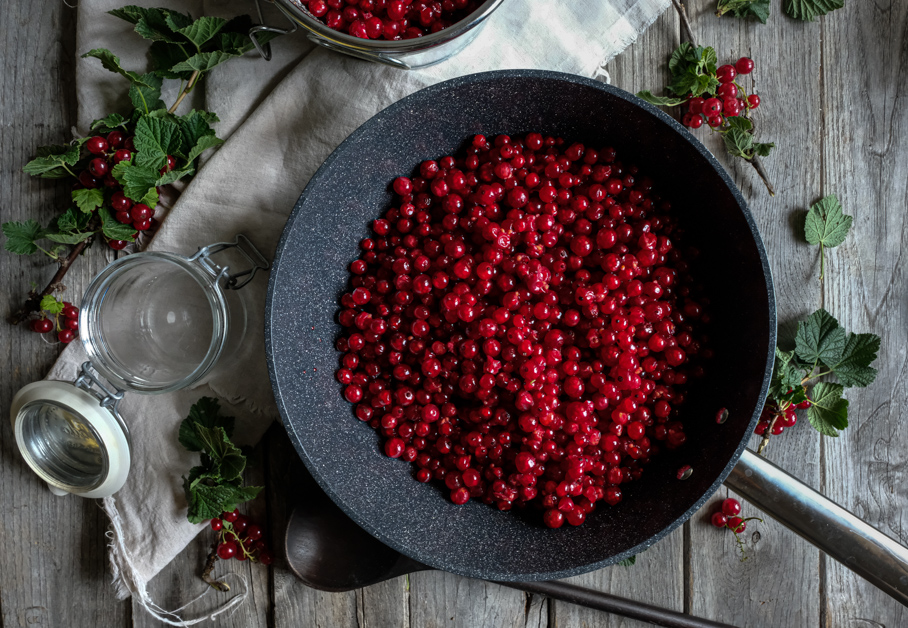
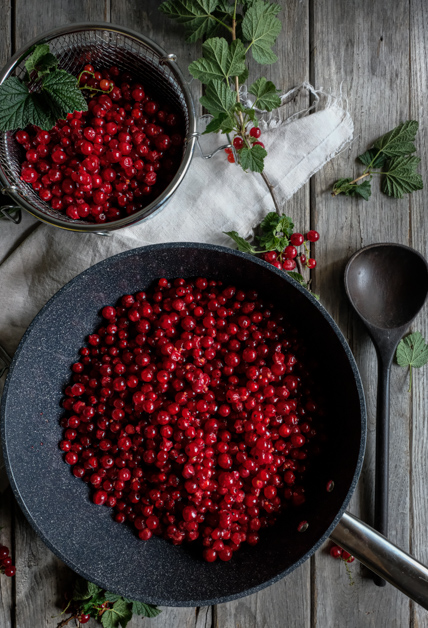
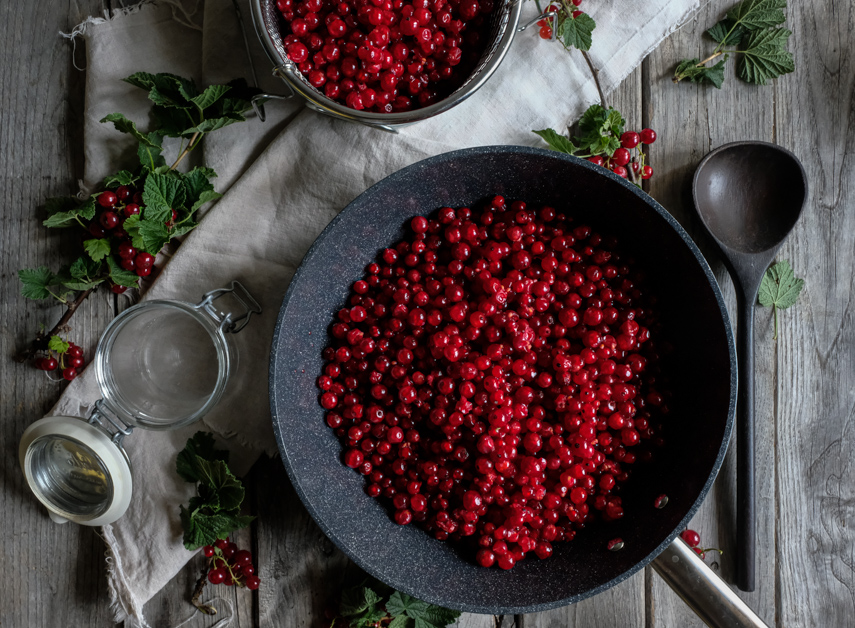
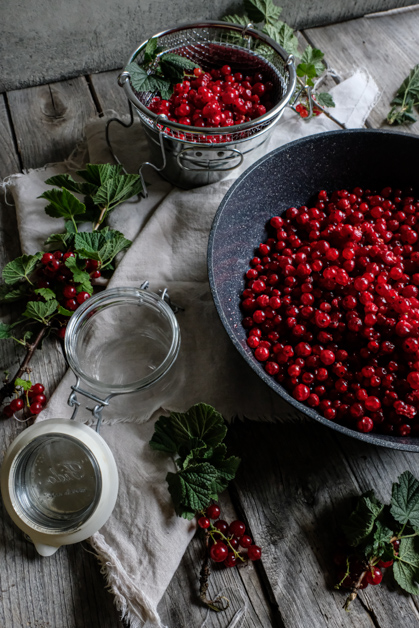
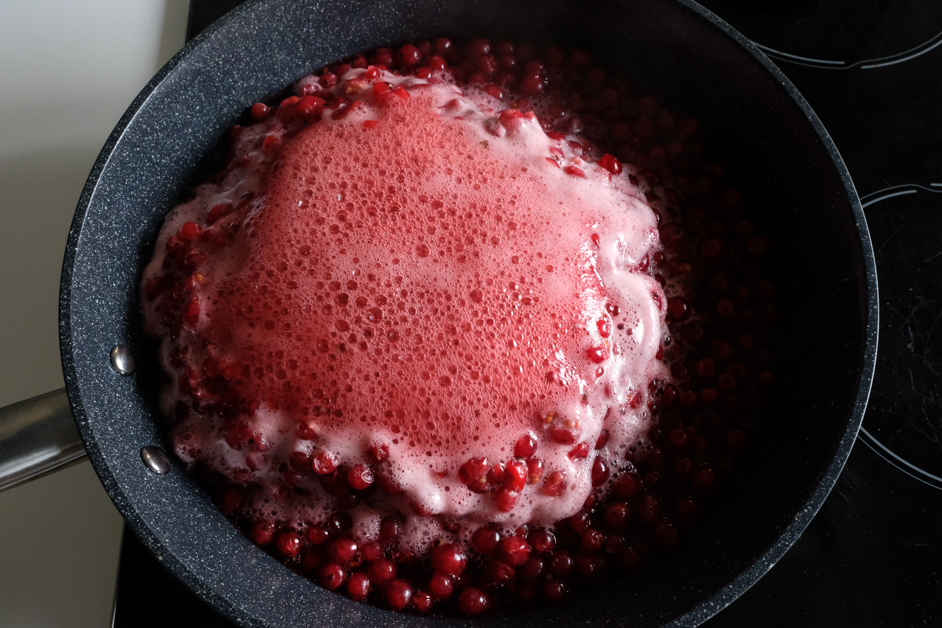
1. Rinse the berries and place them in a sauce pan with the water. Bring the pot to a simmer and keep it there until the berries are extremely soft and mushy – it will take around half an hour. Though not required, I find it helps to also squish the berries with a potato masher towards the end.
2. Pour the berries and juice into a jelly bag and allow the liquid to filter through the bag for at least six to eight hours. It helps to just do this step overnight so you’re not tempted to squeeze the bag. Squeezing it will likely result in your jelly being cloudy rather than clear.
3. The next day, measure the juice that has strained through the bag and for every 600ml you’ll want to measure and set aside 450g of sugar.
4. Bring the juice to a boil then add the sugar. Stir the mixture until the sugar has dissolved and then allow the mixture to continue boiling for around 10 minutes or until the setting point has been reached. The best way to check for set is to dribble some of the liquid onto a plate you’ve kept very cold in the freezer. Allow the drop to cool then push at it with your finger. If it wrinkles up then it’s ready.
5. Remove the jelly from the stove top and let it sit for a minute so that a skin will form on the surface. With a spoon, skim this skin and any foam off the top before pouring the liquid into warm sterilised jars and sealing them with lids and/or wax paper. Stored like this the jelly will keep for about a year without any further processing.
Comments