Chocolate lava cake

Chocolate lava cake, also known as molten lava cake, has to be one of the most popular and loved desserts ever. Regardless of current food trends, this is a classic, timeless recipe that gets everyone excited, whether at a restaurant or at home, and is always considered one of the most delicious and impressive-looking desserts out there.
Even non-hardcore chocolate lovers (like myself) can hardly resist this fudgy miracle of a cake! This one is such an old recipe in my recipe notebook and was given to me by my beloved auntie who happens to be a massive chocolate lover. I’ve obviously made this cake a thousand times. It tastes delicious and never fails to impress, especially when served hot. I mean, who doesn’t drool over the idea of hot melted chocolate that flows out like lava once you cut into the cake?
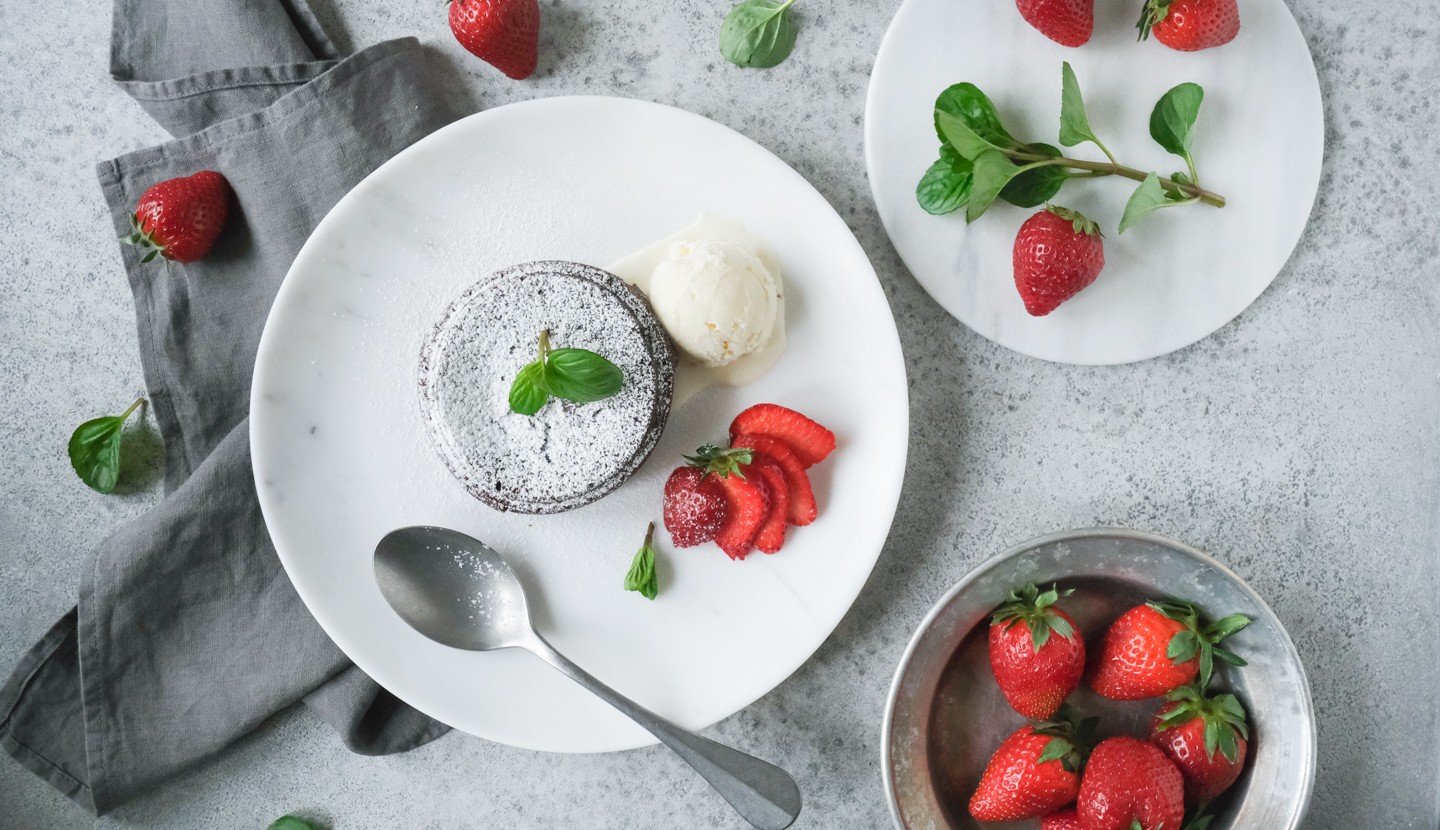
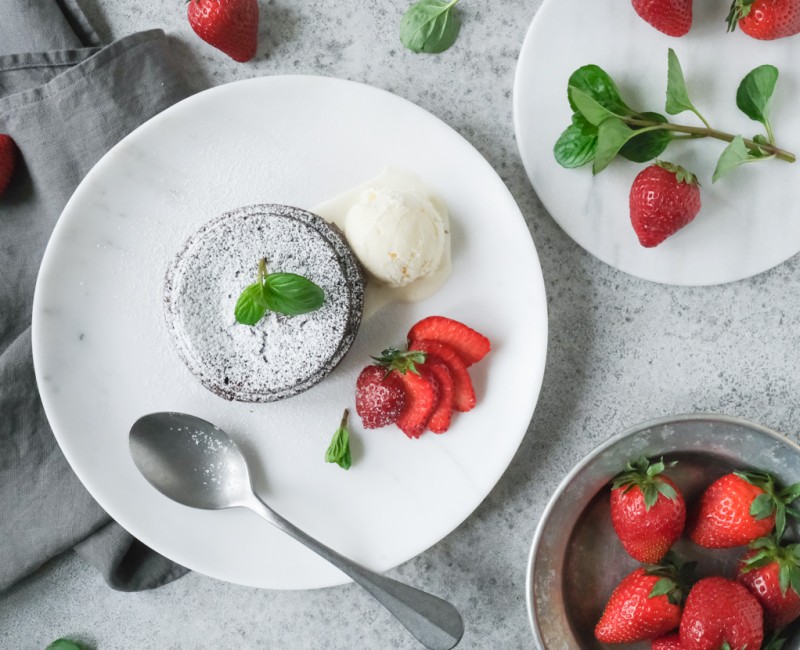
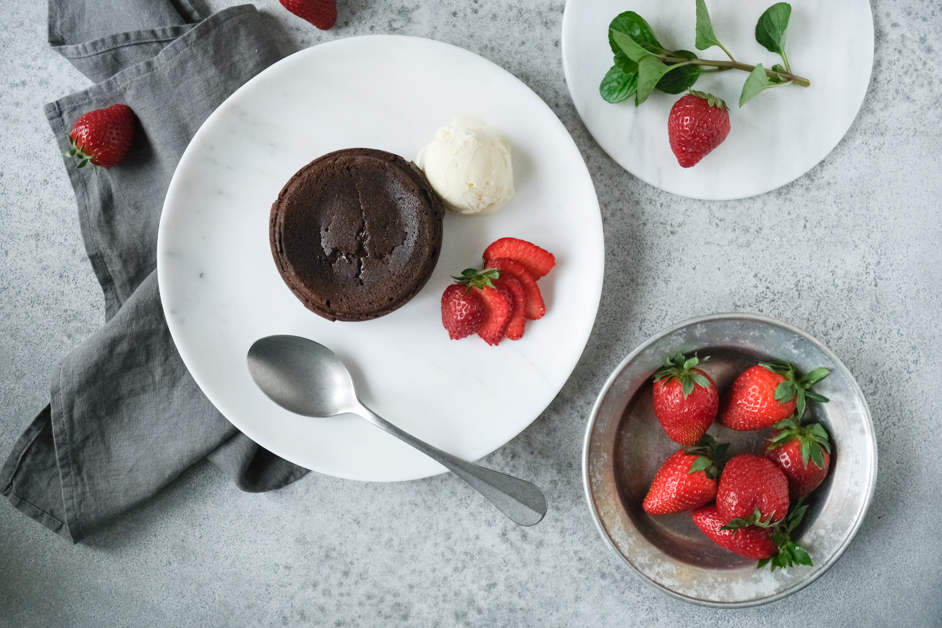
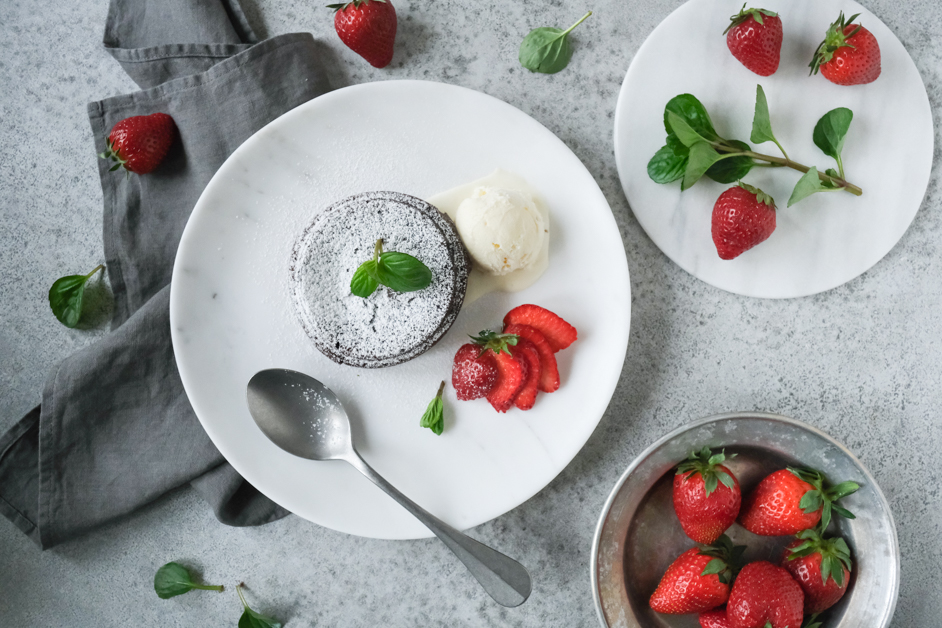
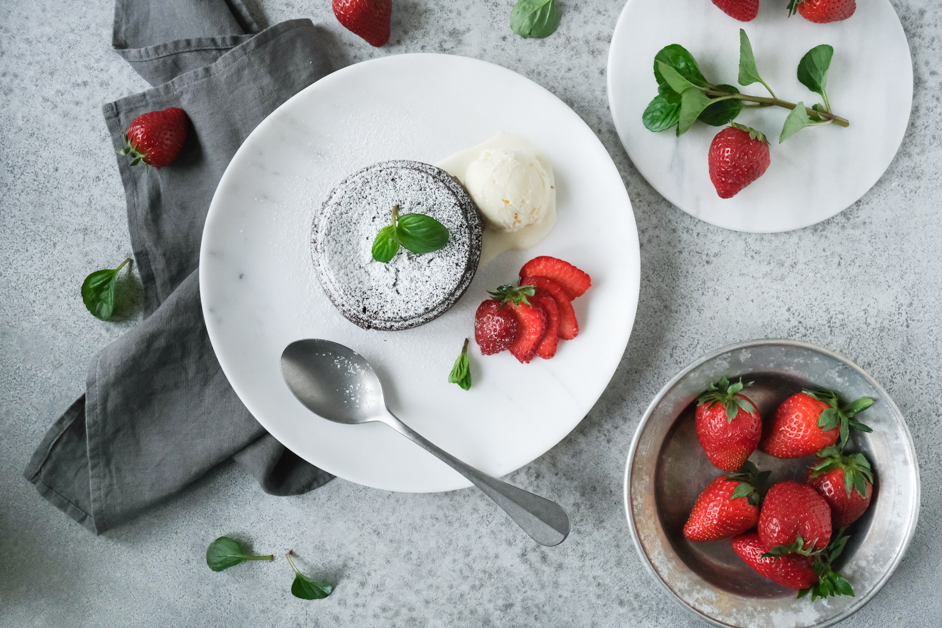
Lava cake goes perfectly with ice cream, that’s a fact. The combination of hot chocolate cake topped with a scoop of vanilla or kaymak ice cream is simply beyond words. A few sliced strawberries or fruits of the forest on the side will be the most delicious final touch!
But how does someone photograph chocolate? I have to say, this is such a hard task for me. Since I always use natural light in my photography, I find it so hard to capture the beauty of this great, yet dark brown ingredient. Cooking and taking pictures at the same time only makes things trickier.
I’ve been meaning to make this recipe for a while now but kept putting it on hold, waiting for the right time and perfect set-up for it. I needed some inspiration. I wanted a flawlessly shaped cake, a beautiful melted chocolate flowing out like lava, the most stunning natural light for my photographs.. And all that while I take the perfect picture!
Needless to say, none of that happened! This cake didn’t make it easy for me, although I’ve made this recipe a thousand times. In an effort to get a result as close to perfect as possible, I had to repeat the same steps three times in a row! Yes, you read that right. My first meringue was over-whisked and collapsed, the second one wasn’t cooked properly (over-cooking is really not a good idea) and here’s the third one which obviously isn’t perfect either. It’s not perfectly shaped, the melted chocolate didn’t flow as beautifully as it was supposed to and the light was challenging to work with and didn’t exactly help me take the perfect pictures. I swear I’ve seen all these things happen with this cake but sadly there’s no photo evidence left to share – I guess we dived into it before I even thought of taking my camera out of the bag!
Can’t help but wonder, why are we so obsessed with the pursuit of perfection? Why is it such a big deal when something’s less than perfect? Why are we so harsh on ourselves, refusing to let go of constantly chasing perfection? And why are we so afraid of imperfections?
Don’t get me wrong, taking pride in our work and pushing ourselves to reach our highest potential can only be a good thing. Yet sometimes I feel that we beat ourselves up too much over everything and wish we could take a step back from time to time and allow ourselves to do our best without obsessing over being perfect, without guilt, without feeling less than.
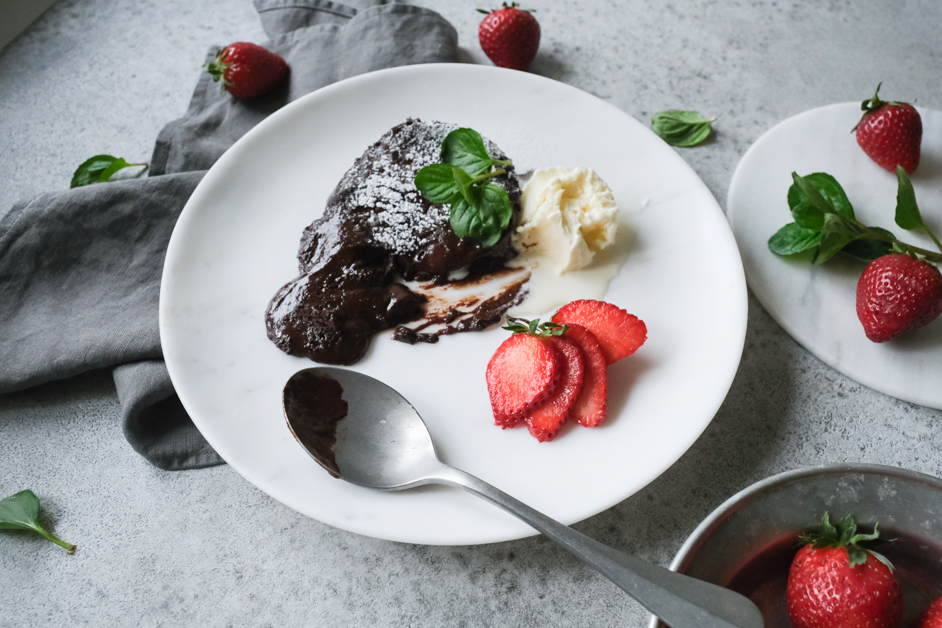
This cake might not look as perfect as expected but, you know what, that’s ok because it certainly does taste delicious and when it comes to food, that’s the part that matters the most, right?
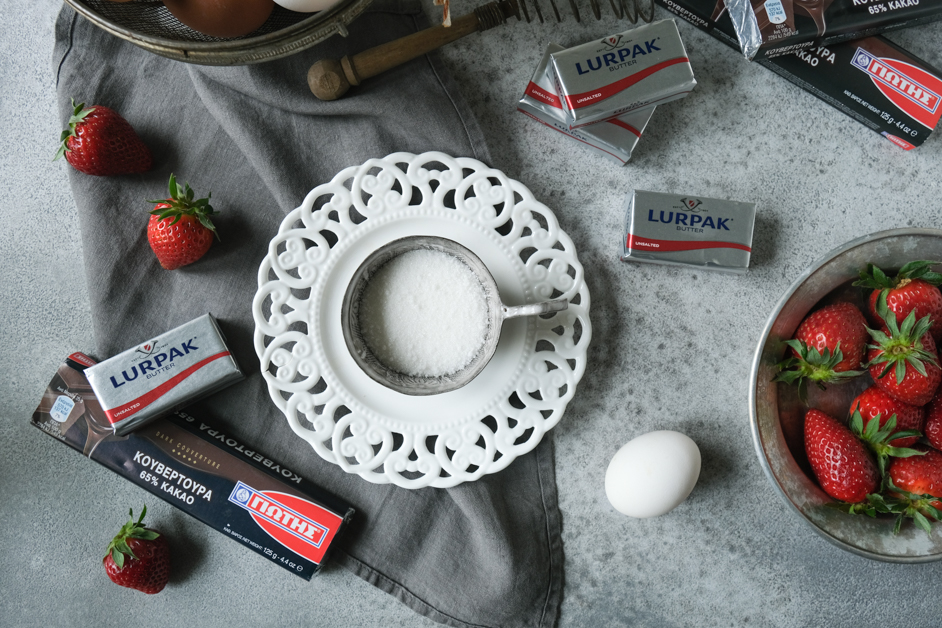
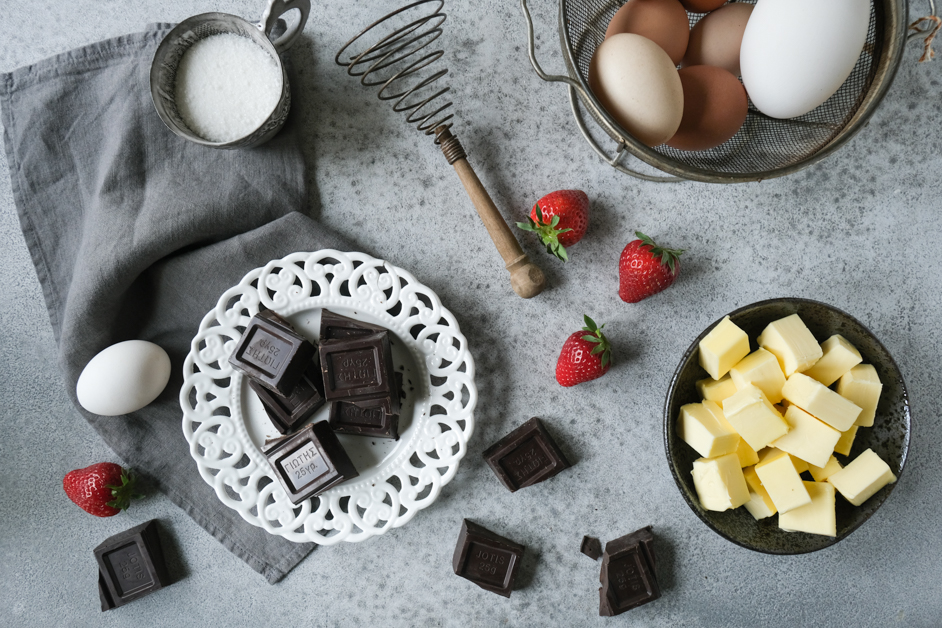
Ingredients
250g butter (plus some more to butter the cake tins)
7 eggs
1 glass granulated sugar
1 glass flour
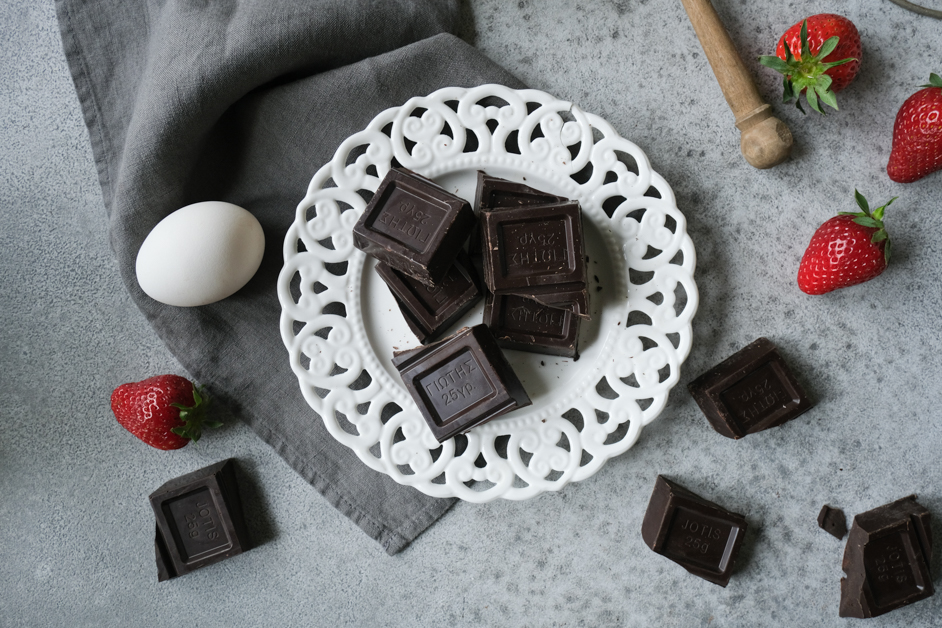
approx. 360g of baking chocolate and 50g cubed baking chocolate for the centre of the cake
Seeds from 1 vanilla pod
2tbsp confectioner’s sugar
5-6 scoops of vanilla ice cream
Spearmint or peppermint leaves
Method
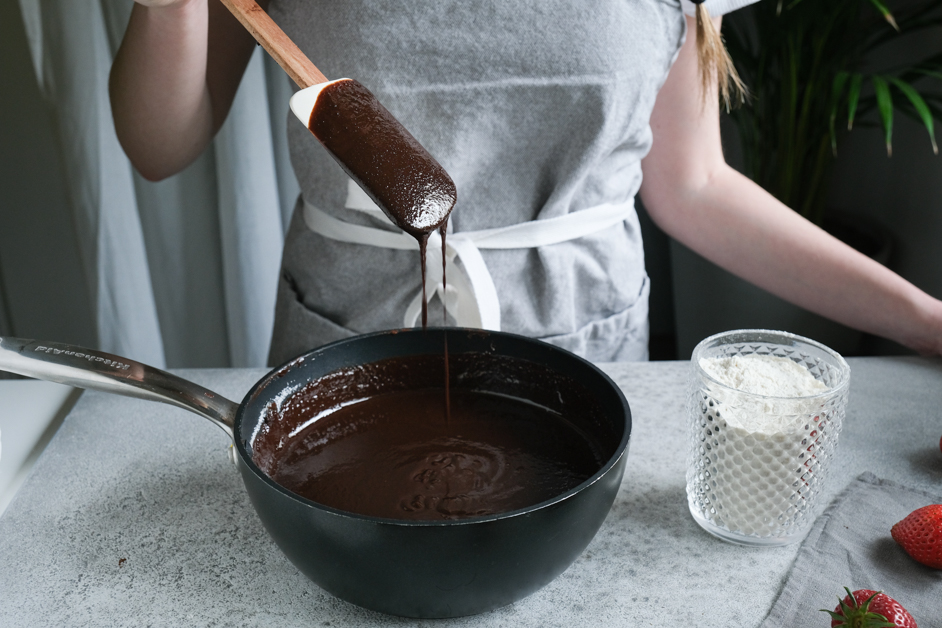
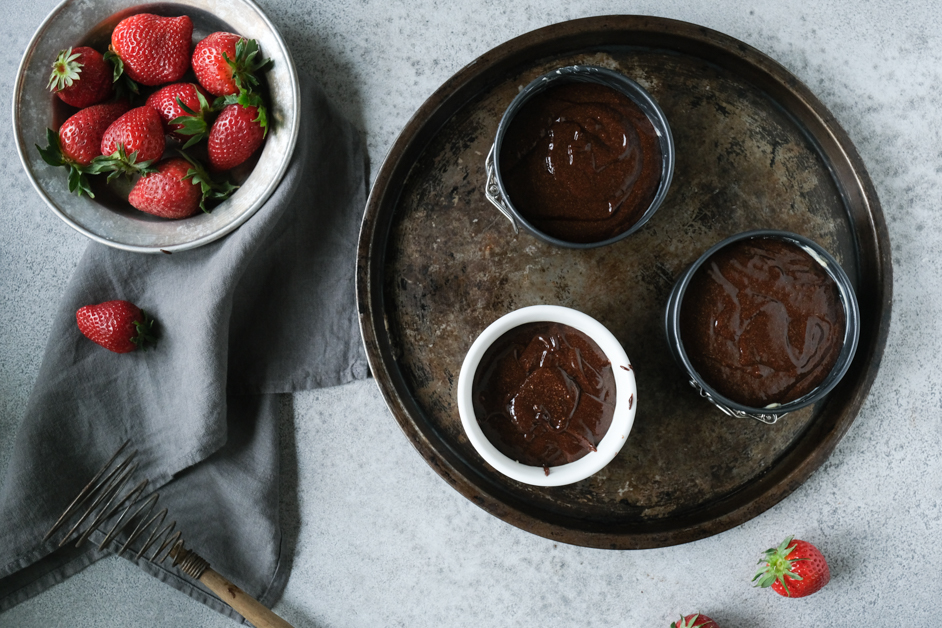
1. Preheat the oven to 200C. In a small pot, melt the baking chocolate and butter. Set aside. Separate the eggs. Whisk the egg whites to a thick meringue and then lightly whisk the egg yolks. Once the chocolate mixture has cooled to tepid, add sugar, egg yolks and vanilla, then add the flour. Stir well. Once the ingredients are blended well, begin to gradually add the meringue into the mixture with a wooden ladle. Continue until the meringue is fully incorporated and the mixture is even and smooth. Butter the cake tins. It can be helpful to use springform cake tins to remove the cake more easily and allow it to maintain its shape but you can always serve it in ramekins as well. Divide the mixture into the cake tins (below the cake rim, as the cakes will rise) and press 3-4 chocolate cubes into the centre of the mixture. Use a spoon to even out the surface again. Transfer the cake tins onto a baking tray and bake for approx. 6-7 minutes.
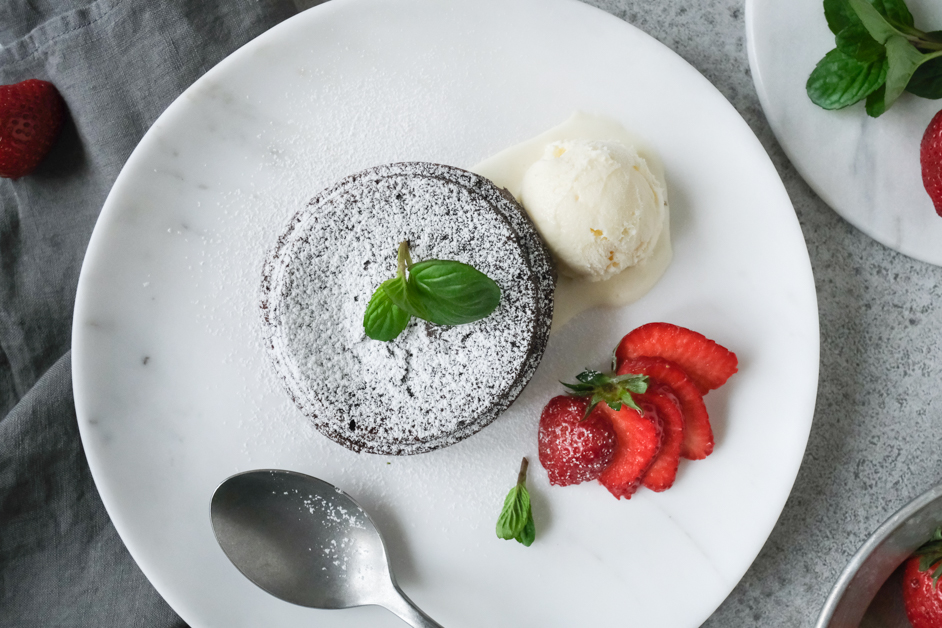
2. Remove the cake tins from the oven and allow to cool for ten minutes. Prepare your serving plates. Slice the strawberries. Remove the cakes from the cake tins and transfer them onto the serving plates. Sprinkle with confectioner’s sugar, arrange the sliced strawberries on the side and a few mint leaves on top and serve.
Comments