Sourdough Grissini breadsticks

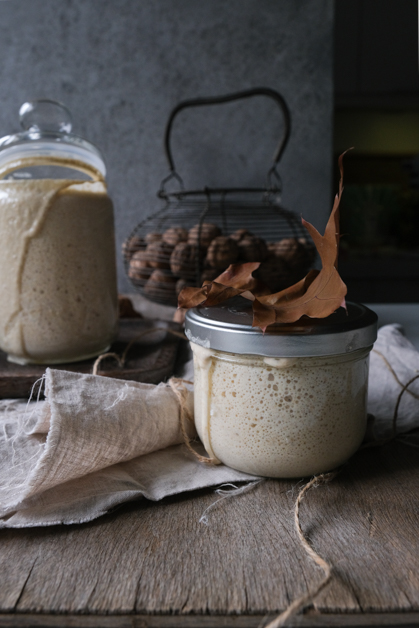
It’s been a while since I trusted my love affair with sourdough to you and I’m thrilled to say it’s going great, just in case anyone needs a little update! I love how this jar on my kitchen counter seems to contain something alive that keeps me company, pretty much like a new pet.
For years, I was too afraid to make my own sourdough starter and believed it takes too much effort and incredible superpowers to get it right. But ever since I found a great and detailed recipe on how to feed and maintain my sourdough starter, everything’s going according to plan.
I know there are so many secrets to making the perfect sourdough starter and still have so much to learn. There are a few friends and fellow food bloggers I admire for their skills and expertise in sourdough and certainly hope I’ll get there myself in the future but for now, I’m perfectly happy with where I am and the fact that I can make so many recipes I always dreamed of making, and they actually taste great too!

Feeding my sourdough starter gives me so much joy, especially when I see it rise so much that the lid pops off the jar. Weirdly, seeing it grow feels like building a connection with something that actually has life and form!
That’s the joy of baking with sourdough; after a while, everything else seems a bit too plain, tasteless even. Nothing compares to the look and flavour sourdough adds to any baked good, it simply makes things a lot more interesting.

There’s something about sourdough baking that feels deeply satisfying to me. Perhaps it’s the process of feeding (definitely my specialty), the joy of combining two simple ingredients (like flour and water) to create something so humble, yet delicious, the waiting game in anticipation of the end result, the mindfulness, connection and interdependent relationship between you and the ingredients. The view of those glorious air bubbles in the dough fills me with excitement and can only mean one thing; something good is cooking!
As you know, I have a soft spot for all kinds of savoury baked goods, they’re basically my chocolate! So, you can only imagine how excited I am to finally be able to make some of them myself instead of rushing to the bakery all the time to feed my addiction! Any savoury crispy breadstick, cracker, biscuit or flatbread (especially those with soudough) feels incredibly satisfying and comforting to me.
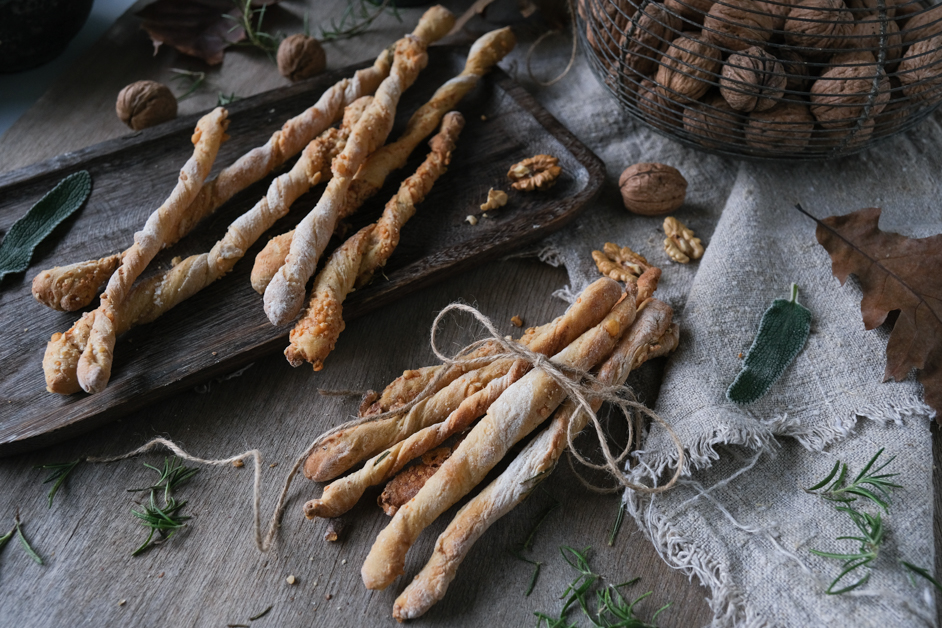
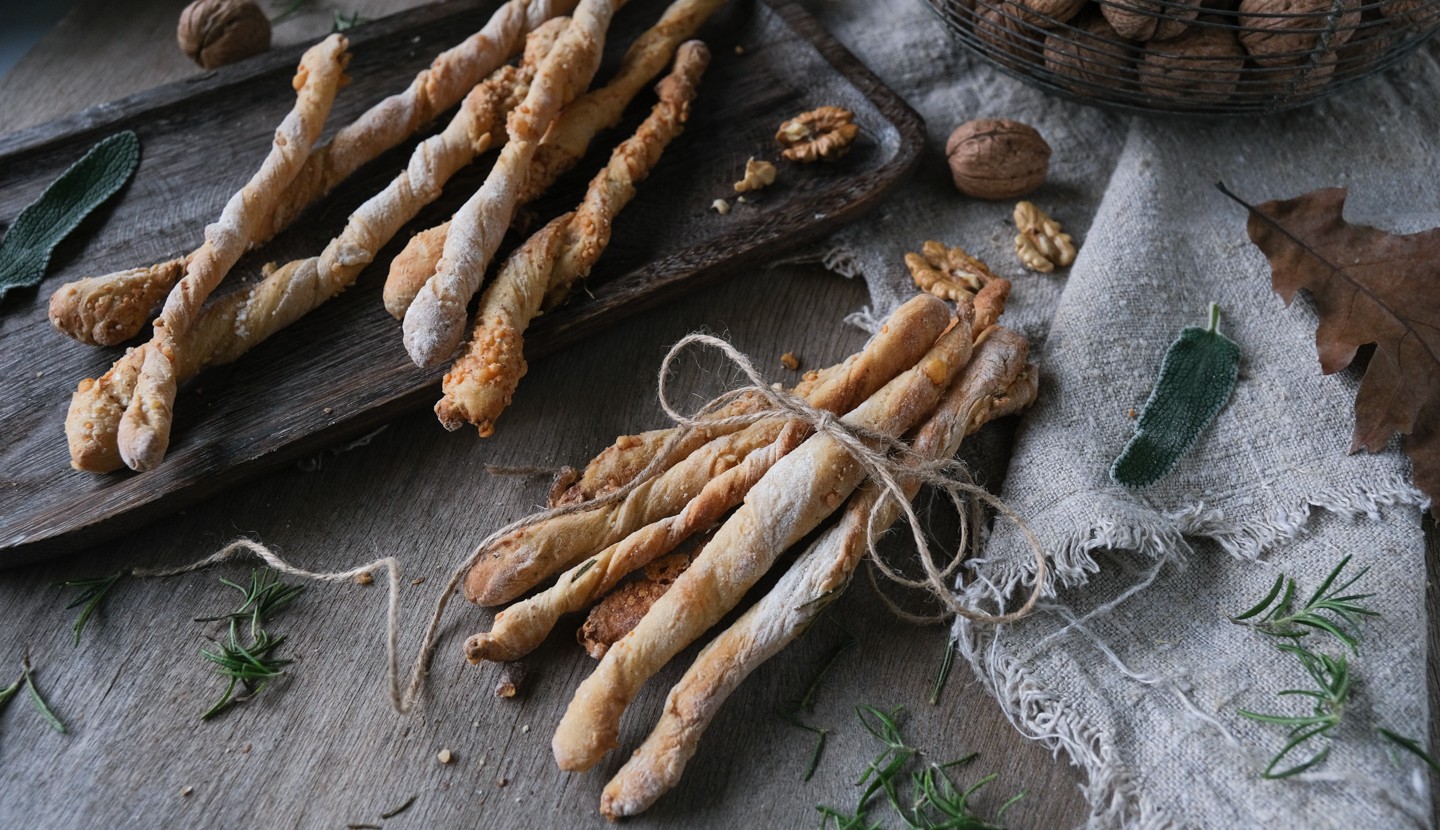
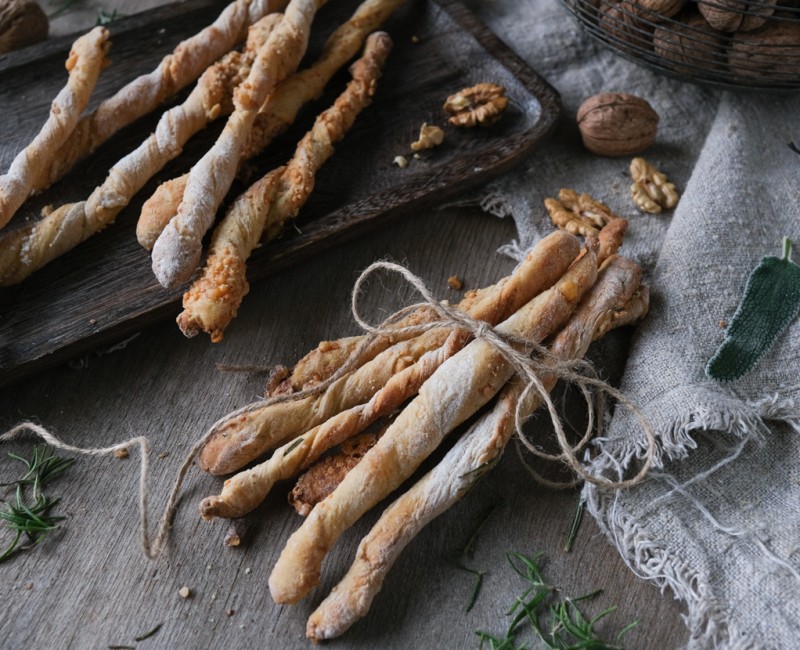
My kitchen might be a complete mess but I’m sure it’s worth it! I have some very ambitious plans today; homemade sourdough grissini breadsticks in different flavours. My favourite Italian twisted breadsticks are easy to find in bakeries everywhere and to be honest, some of them are quite delicious too. They’ll probably be hard to beat.
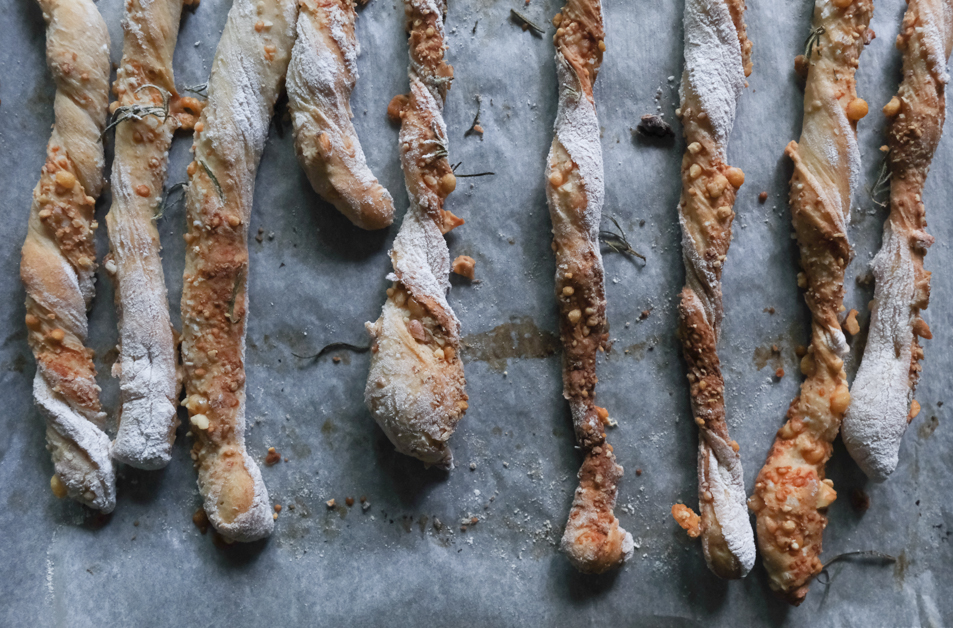
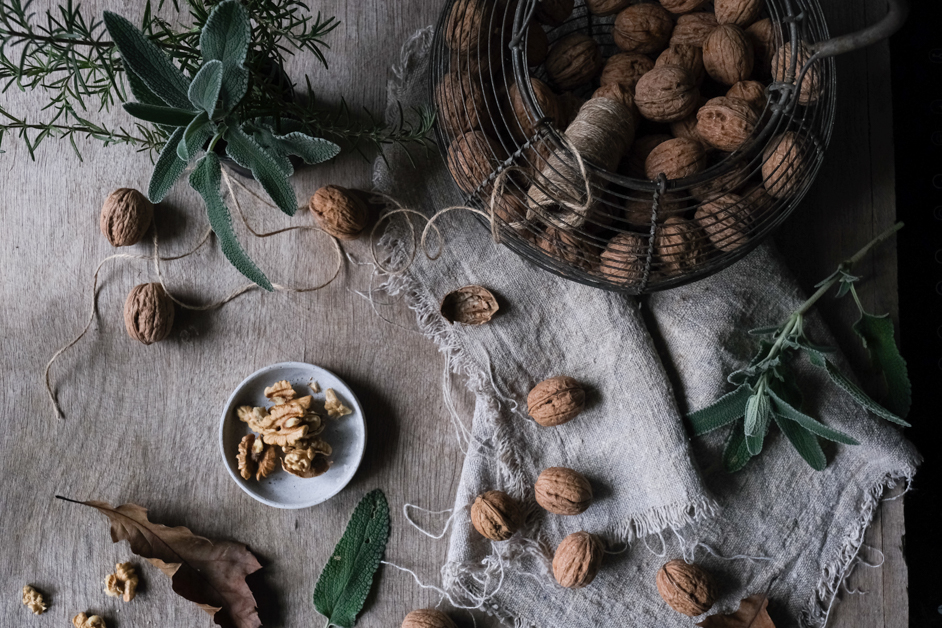
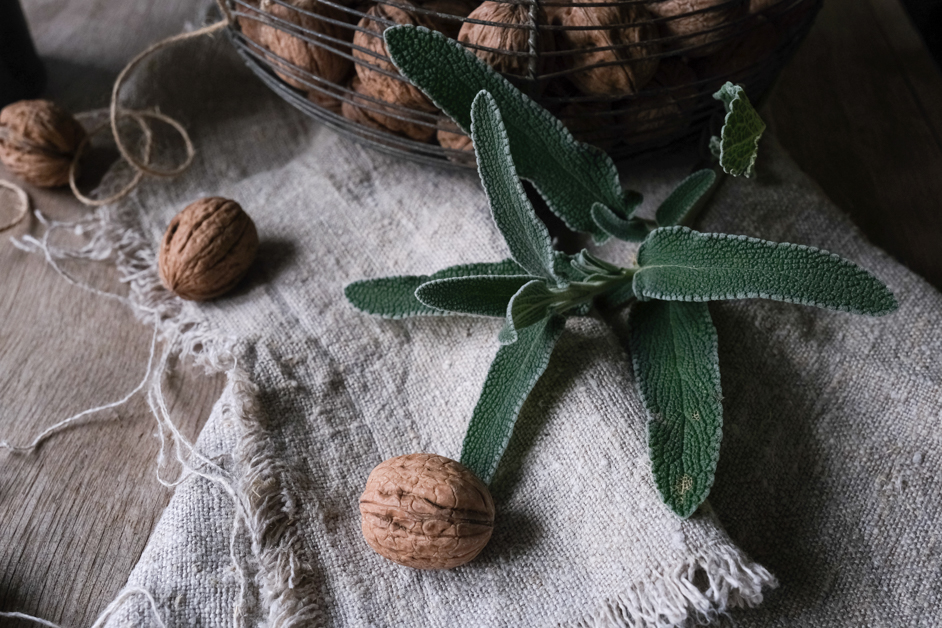
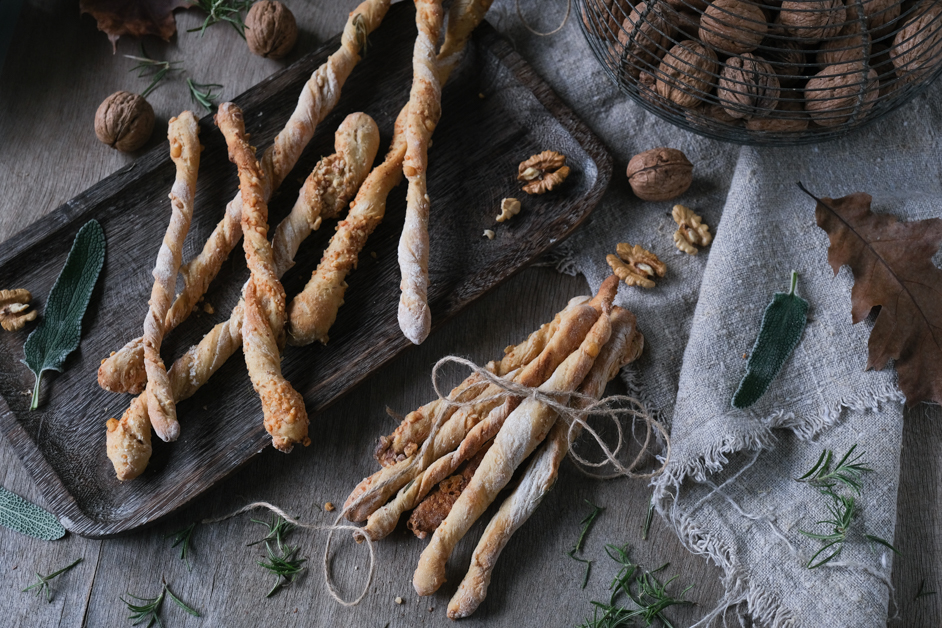
Couldn’t believe my eyes when I saw how beautiful and crispy my sourdough breadsticks turned out. And delicious too, with flavours of Parmesan and Pecorino cheese, dried olive powder, sage, rosemary, walnuts.. And sea salt flakes, of course! My only advice for you is to be generous with the quantities. Trust me, they’ll disappear in no time! Everyone will be leaving the kitchen with (at least) one breadstick in hand. Plus, they’ll be perfect for a cheese platter.
Ingredients
Sourdough:
100g sourdough starter
90g hard white flour
30g Spelt flour
120ml water
Grissini breadsticks:
350g hard white flour (plus some more for kneading)
200g water
250g freshly fed sourdough starter
25g olive oil
½ tsp salt
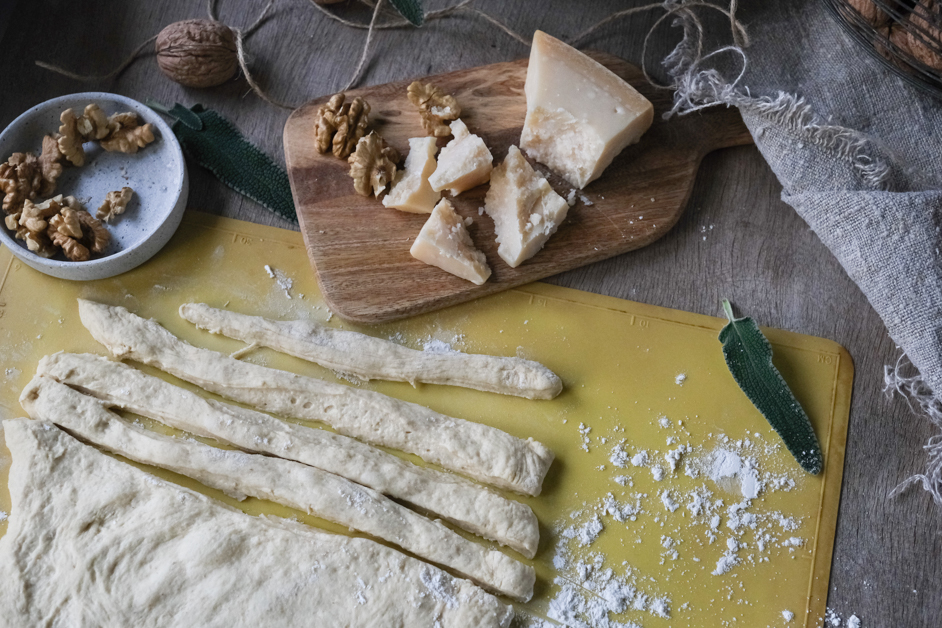
30g Parmesan, Pecorino cheese or any other hard cheese, grated
30g dried olive powder (dosegefsi)
Rosemary sprigs
Sage leaves
20g finely chopped walnuts
Sea salt flakes
Method
1. Buy the sourdough starter two days earlier and start feeding. Place it into a tall glass jar and add the ingredients. Blend well with a wooden spatula. Seal the jar and set aside until the next day. It’s best to use sourdough starter at its peak.
2. The next day and once the starter has risen (almost tripled its size), start kneading. In a big bowl, mix flour, starter and water until all ingredients are blended well. The dough will be quite sticky but that’s normal. Cover the dough and set aside for 30 minutes. Then add salt and olive oil and work the dough a little longer. Cover again and set aside for 30 minutes. Stretch the dough a few times in between breaks. With the bowl in front of you, wet your hands and lift one side of the dough off the bowl, stretch and tuck towards the centre of the ball of dough. Stretching will add more air in the dough. Continue with all sides. Set aside for another 30 minutes. Repeat the stretching process 2-3 more times for each side. Set aside. Place the dough in the refrigerator for the night and remove the next morning. The dough will have risen and will be filled with big and small air bubbles. Set aside and allow it to reach room temperature before you start using it.
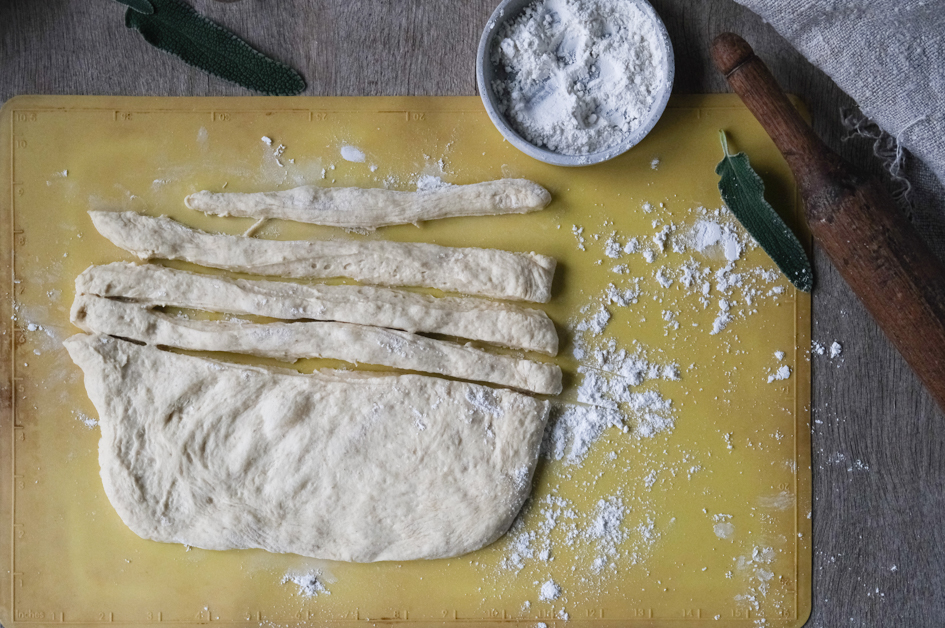
3. Preheat the oven to 180C. Line two baking trays with parchment paper. Flour your work surface. Remove the dough from the bowl, work it with your hands and divide it to three or four balls. Open each ball to an approx. 40x25cm rectangle. Now choose the flavours you want to add to the first batch of breadsticks. You can start with a few sea salt flakes, Parmesan, chopped sage and chopped walnuts. Press lightly to incorporate the ingredients into to dough. With a thin knife, cut the dough into approx. 5cm strips. Now twist each strip and place them into the baking tray. Usually half of the ingredients we’ve added start falling off the strips but don’t let this discourage you. What’s left on the strips is more than enough to give the flavour you went for. Once you’ve finished with the strips, place the tray into the oven and bake for about 20-25 minutes until golden brown. Continue with the rest of the dough and add the flavours you want each time. It can be olive oil, rosemary, or plain with sea salt only.
4. You can keep the grissini breadsticks fresh for days if you wrap them with parchment paper and store them into a food container.

Comments